
Water that gets into a wall cavity does not announce itself. There is no alarm, no immediate visible damage, and in many cases no indication at all until the problem has been developing for days, weeks, or even months. Learning to recognize the signs of water damage behind wall surfaces is one of the most practical things a homeowner can do, because the window between when water enters a wall and when mold from water damage begins establishing inside it is only 24 to 48 hours in a warm environment like Florida.
The good news is that wall water damage leaves behind a recognizable set of clues even when it is not yet visible from the surface. Knowing what those clues look like, understanding what causes them, and acting on them quickly enough to arrange a water damage inspection before mold establishes is what separates a contained repair from a full mold remediation project. This guide walks through every major indicator, the moisture sources that most commonly drive hidden wall water damage, and the right course of action at each stage of discovery.
Why Water Gets Behind Walls and Stays There
Before identifying the signs, it helps to understand why water behind walls is such a persistent problem. Unlike a spill on the floor that can be wiped up and dried with a fan, water that enters a wall cavity has no natural exit route.
The Enclosed Space Problem
Wall cavities are designed to be sealed from the interior and exterior of a home. This is good for insulation and structural integrity but creates a serious moisture trap when water enters. Insulation batts absorb water and hold it against the drywall paper and wood framing. The paper facing of standard drywall absorbs moisture like a sponge. Wood framing swells and retains moisture for extended periods. None of these materials can dry naturally in a sealed cavity without mechanical assistance.
In Florida’s warm climate, a wall cavity with moisture present maintains temperatures between 77°F and 86°F for most of the year. This is precisely the temperature range where mold grows most aggressively. The combination of a sealed moisture-retaining space and warm temperatures means mold from water damage in a Florida wall cavity develops faster than in almost any other building environment.
Common Sources of Behind-Wall Water Damage
Understanding the most frequent entry points for water into wall cavities helps you know which walls to watch most closely.
Water Source | Most Affected Wall Areas |
Plumbing supply line leak | Interior walls containing water supply pipes |
Drain pipe joint seep | Walls behind sinks, tubs, and toilets |
Roof leak traveling down framing | Upper floor walls and ceilings below the roof line |
Window or door seal failure | Exterior walls around all window and door frames |
Exterior stucco or siding crack | Any exterior-facing wall in storm-affected areas |
HVAC condensate line overflow | Walls adjacent to air handler closets |
Foundation or slab seepage | Lower sections of basement and ground floor walls |
Any of these sources introduces water into a space where it cannot evaporate without intervention, and where the materials present create the ideal conditions for rapid mold colonization.
The Signs of Water Damage Behind Wall Surfaces
These are the indicators homeowners and professional inspectors look for when wall water damage is suspected. The more of these signs are present simultaneously, the more certain it becomes that water has entered a wall cavity and may already be supporting mold growth.
Discoloration and Staining on the Wall Surface
The most recognizable surface indicator of behind-wall water damage is staining or discoloration on the drywall or plaster. These stains typically appear yellowish, tan, or brownish and often have an irregular outline with a darker border, which is the characteristic ring pattern that forms as water migrates outward through the material and evaporates at the edge.
What the Stain Pattern Tells You
A fresh water stain is typically darker and may still feel damp to the touch. An older stain that has dried may appear lighter in the center with a distinct darker ring at the edges. Multiple overlapping rings indicate repeated moisture events rather than a single incident, which strongly suggests an ongoing leak source rather than a one-time event.
Staining located at the base of a wall near the floor suggests moisture wicking upward from foundation seepage or a slow drain pipe leak. Staining that appears near the ceiling or at the top of a wall typically indicates a roof leak or a condensate line overflow traveling downward through the framing. Staining directly around a window frame points to window seal failure or inadequate flashing at the rough opening.
Paint Changes: Bubbling, Peeling, and Blistering
Paint on a wall surface is one of the first materials to respond visibly when moisture is present in the drywall beneath it. When the drywall absorbs moisture from within the wall cavity, the moisture migrates through the gypsum and pushes against the paint from behind, breaking the adhesion between paint and substrate.
What Different Paint Changes Indicate
Bubbling or blistering in the paint surface where raised pockets appear under the paint layer indicates active moisture migration from behind the wall at the time of observation. The wall cavity moisture is ongoing.
Peeling paint where the paint layer separates and curls away from the surface indicates that moisture saturation has been occurring long enough to permanently break the paint-to-drywall bond. This typically represents a more extended moisture event than bubbling alone.
Cracking paint specifically along the line where wall meets baseboard or ceiling indicates dimensional change in the materials from repeated moisture cycling, a sign of a recurring or ongoing moisture source rather than a one-time event that has resolved.
Soft, Spongy, or Warped Wall Surface
Healthy drywall is firm and unyielding when pressed. Drywall that has absorbed significant moisture from behind loses structural rigidity and feels noticeably soft or spongy under firm hand pressure. Press gently but firmly on any area showing staining or paint changes. A wall that gives slightly under pressure is a clear indicator of moisture saturation in the drywall material.
In more advanced cases, the wall surface visibly bows or warps outward from the framing behind it. This physical deformation indicates that the drywall has been saturated long enough to lose its structural integrity entirely and must be replaced regardless of whether mold treatment is required.
Baseboard and Trim Changes
The baseboards and wall trim that run along the bottom of walls are consistently among the first materials to show physical evidence of wall cavity moisture because they sit at the lowest point of the wall where moisture tends to accumulate. Watch for:
Baseboards lifting away from the wall at the top edge where they contact the drywall surface. This gap forms as the drywall behind swells from moisture while the baseboard itself may be drying more rapidly.
Baseboard buckling or warping along its length particularly in the middle of a run rather than at joints, indicating swelling from absorbed moisture.
Dark staining at the top edge of baseboards where they contact the wall, often a direct transfer of the moisture staining from the lower drywall surface.
Paint cracking specifically along the caulk line between the baseboard and wall, indicating movement from moisture cycling in the materials.
Musty Odor in a Specific Room or Area
A musty or earthy smell that is persistent in a particular room or appears strongest near a specific wall is one of the earliest indicators of mold from water damage that has already begun establishing inside a wall cavity. The odor is produced by microbial volatile organic compounds released by active mold colonies as a metabolic byproduct.
How to Locate the Odor Source
The odor from inside a wall cavity typically leaks into the room through electrical outlets, light switch covers, and gaps around trim and baseboards, all locations where the sealed wall cavity has small openings to the interior air. If you place your nose near an electrical outlet cover on a wall where you have noticed a musty smell and the odor is distinctly stronger at that point than in the open room, the source is almost certainly inside the wall behind that outlet.
This odor cannot be eliminated with air fresheners or deodorizers because the source is an active biological process inside the wall. The only way to eliminate it is to eliminate the mold colony producing it and the moisture source sustaining it.
Floor Changes Near the Base of the Wall
Water that accumulates in a wall cavity often eventually migrates outward to the floor materials at the base of the wall. Watch for:
Flooring discoloration or staining along the wall edge that does not correspond to any visible spill or surface moisture event.
Soft or spongy flooring near the base of a specific wall, particularly in the case of wood floors or engineered flooring that absorbs moisture from below.
Tile grout darkening along the line where floor tile meets the wall, indicating persistent moisture at the floor-wall junction from inside the wall.
Laminate or vinyl flooring lifting at the edges near a specific wall section, caused by moisture migrating from the wall cavity into the flooring material.
Visible Surface Mold Appearing Without an Obvious Cause
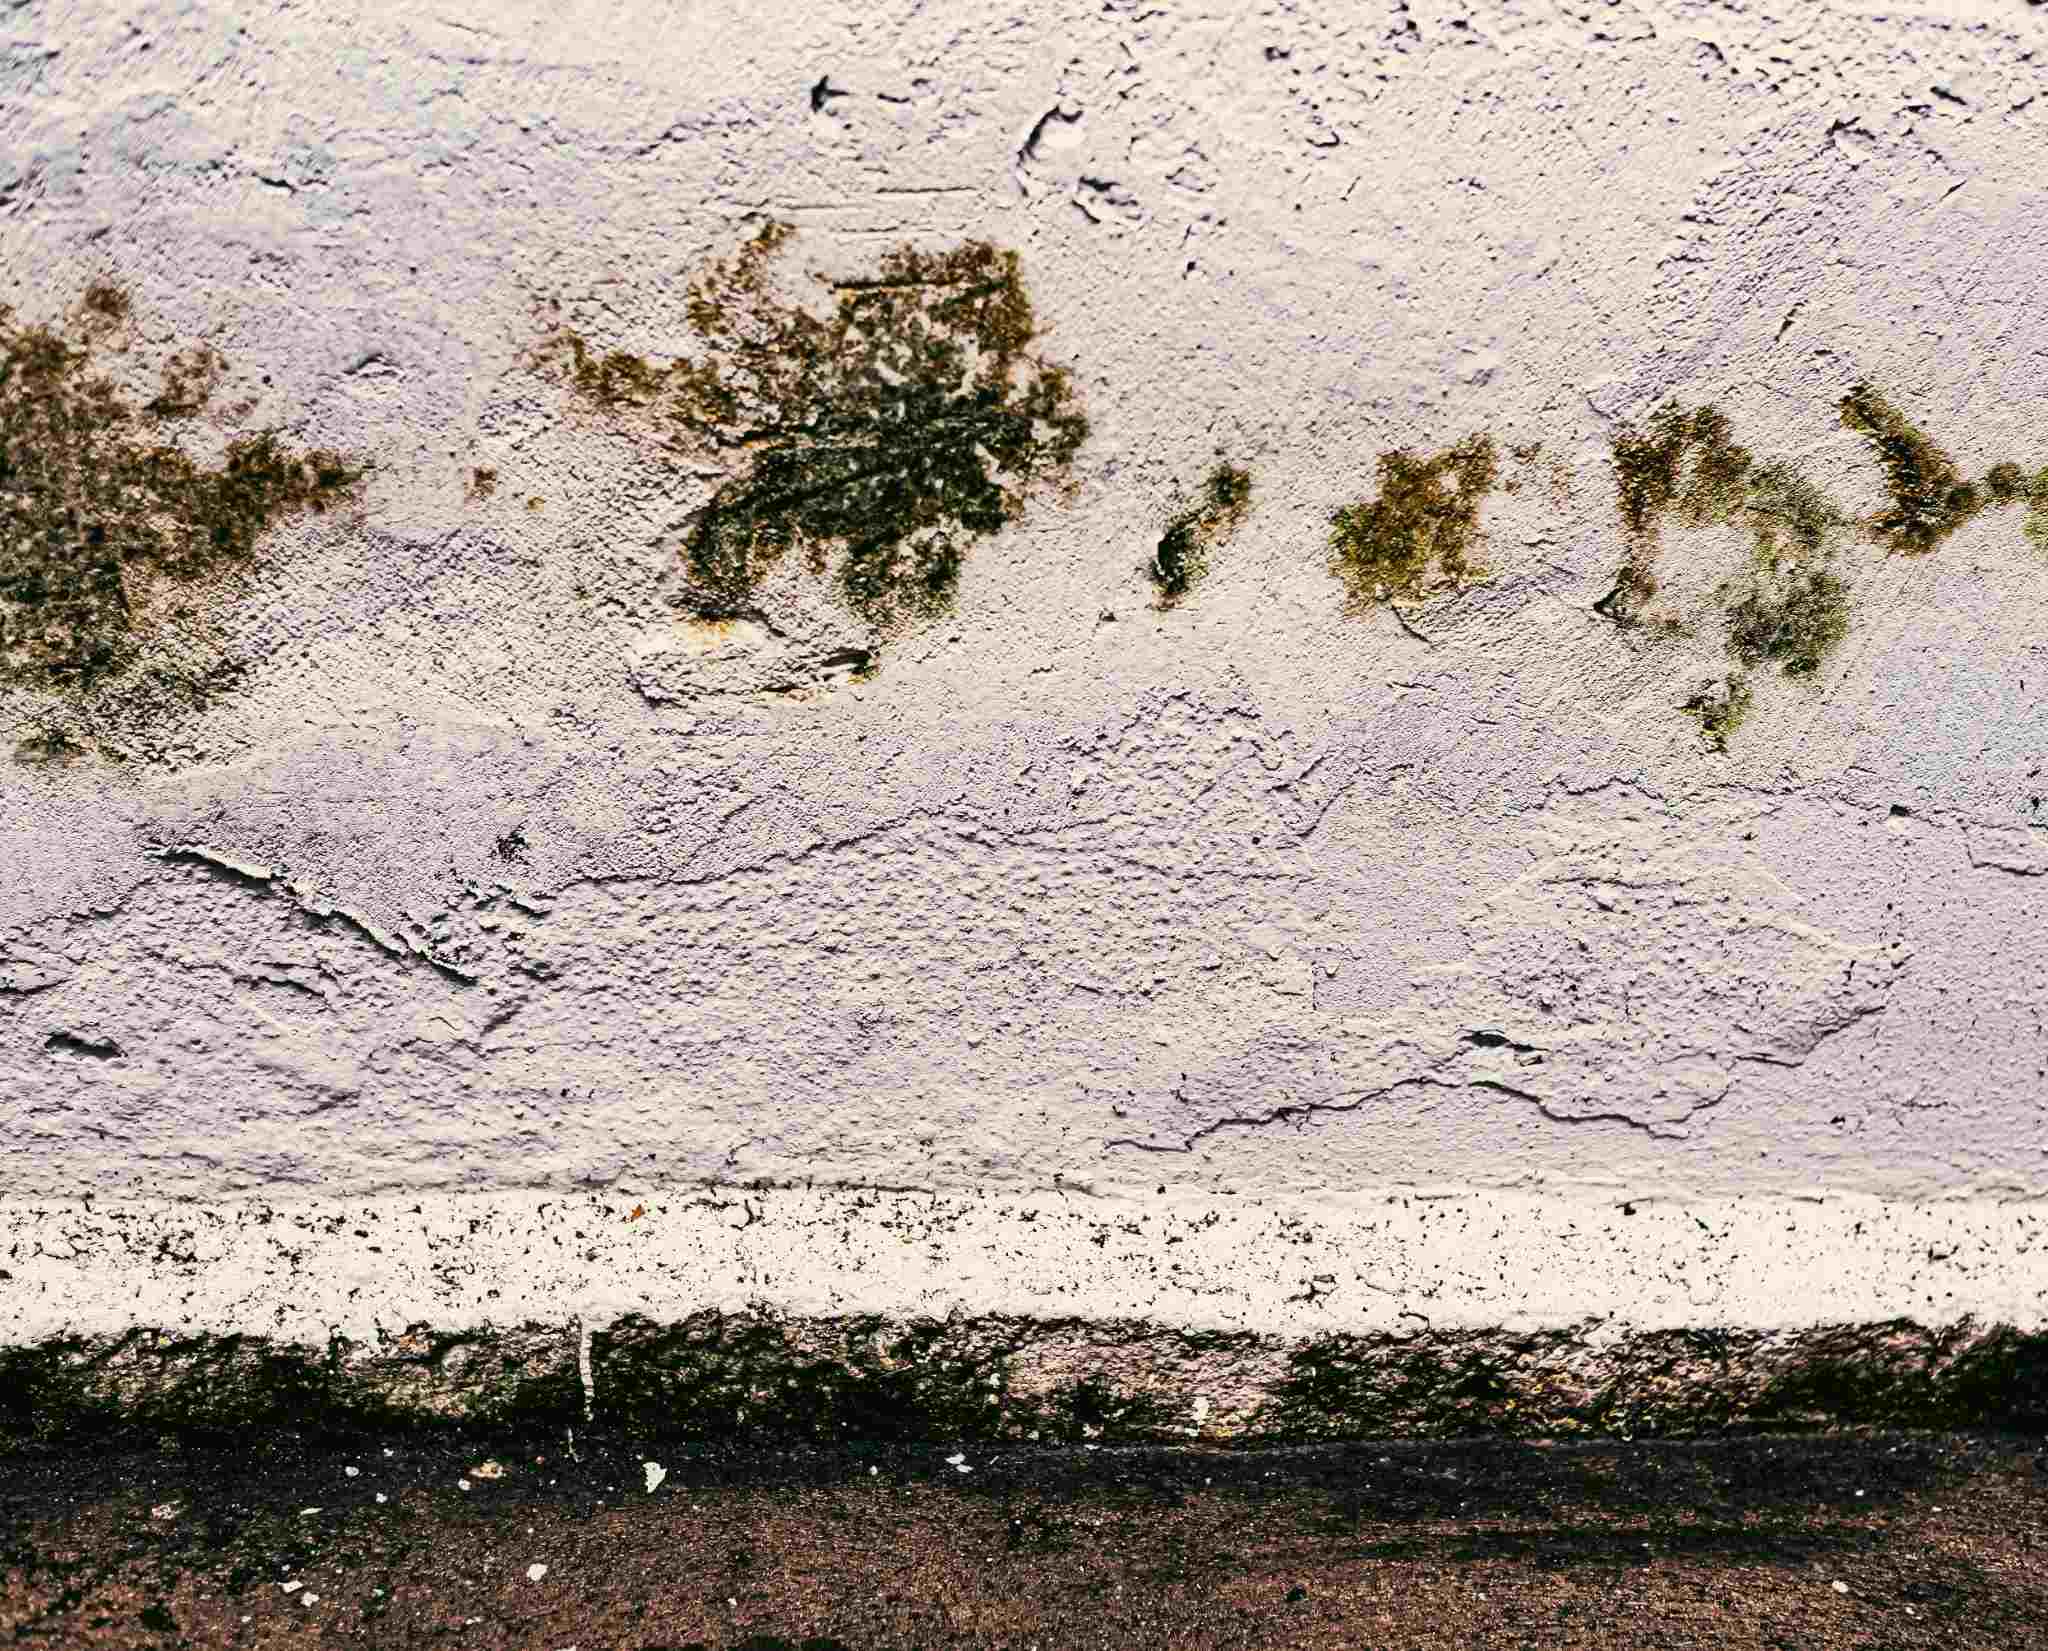
Surface mold appearing on a wall where there is no obvious source of surface moisture, such as a shower spray zone or a condensation-prone exterior wall, typically indicates that moisture is present inside the wall cavity and is transmitting enough humidity through the drywall to support surface growth. This is one of the later indicators because it means moisture penetration has been sufficient and sustained enough to drive mold growth all the way to the painted surface. By this point, more extensive growth is almost certainly present inside the cavity.
For a detailed look at the full range of signs that indicate hidden mold including those that do not present as visible wall surface growth, our guide on signs of hidden mold behind walls covers every indicator in detail.
Why Professional Assessment Is Essential When You Spot These Signs
Identifying the signs of water damage behind wall surfaces is an important first step, but what comes next matters just as much as recognizing the problem. The instinct many homeowners have when they notice staining, paint changes, or a musty odor at a wall is to investigate further on their own, repaint the affected area, or attempt to dry out the space with fans. Each of these responses either delays proper treatment or actively makes the situation worse.
Painting over a water stain is the most common incorrect response and one of the most damaging. It covers the visible symptom while leaving the moisture source and any developing mold from water damage entirely unaddressed. The moisture continues migrating through the wall, the mold continues growing behind the painted surface, and the same staining returns within weeks, often more extensive than before.
Opening a wall independently to investigate without professional containment equipment in place is the other common mistake. If mold has established inside the wall cavity, cutting into the drywall without containment releases a concentrated burst of spores into the living space that then settles throughout the home. What could have been a contained remediation becomes a whole-room or whole-home contamination event.
What a Professional Water Damage Inspection Provides
The right response when wall water damage signs are present is to arrange a professional water damage inspection that assesses the full extent of the damage without the risks of uninformed wall opening. Professional inspectors use moisture meters that measure the actual moisture content of wall materials including hidden saturation that produces no surface change, thermal imaging cameras that identify trapped moisture inside building cavities by mapping temperature differentials across wall surfaces, and air sampling equipment that detects elevated indoor mold spore concentrations even when no visible mold source can be found.
This combination of tools produces an objective picture of exactly where moisture is present, how far it has spread, which materials are affected, and whether mold has already established in the wall cavity. This information shapes both the scope of the remediation required and the location of any wall openings needed, preventing the common outcome of opening the wrong wall sections while leaving the actual moisture zone unaddressed.
What Professional Remediation of Behind-Wall Water Damage Involves
When a professional inspection confirms moisture saturation and mold growth inside a wall cavity, remediation follows a specific sequence that protects the rest of the home during treatment.
Containment is established before any walls are opened. Plastic sheeting and negative air pressure equipment seal the affected area from the rest of the home so that spores disturbed during wall opening and material removal cannot migrate to unaffected rooms.
The moisture source is confirmed resolved before any wall material is replaced. A plumbing repair, exterior seal repair, or drainage correction is verified complete before reconstruction begins. Installing new drywall over framing that still has an active moisture source simply restarts the same problem behind fresh materials.
All contaminated materials including affected drywall sections, compromised insulation, and in some cases sections of damaged framing are removed and replaced rather than treated in place. Mold that has penetrated porous building materials cannot be eliminated by surface treatment alone. Removal of the affected material is the only reliable approach.
Structural framing and any remaining building surfaces are treated with commercial-grade antimicrobial products and verified dry through moisture meter readings before new materials are installed.
Post-remediation air sampling confirms that spore levels in the treated area have returned to acceptable ranges before containment is removed and the space is cleared for reconstruction. This verification step is what provides documented confirmation that the remediation was complete rather than only visually apparent.
The Timeline: Why Acting Quickly Is So Important
The reason early recognition of the signs of water damage behind wall surfaces matters so much is the compressed timeline between water entry and mold establishment in a Florida home.
Time After Water Entry | Condition Inside Wall Cavity |
0 to 24 hours | Moisture saturating materials. No mold yet. Drying is still possible without remediation. |
24 to 48 hours | Mold spore germination begins on saturated materials. Drying alone may be insufficient. |
3 to 7 days | Visible mold colonies established on drywall paper and framing. Remediation required. |
1 to 3 weeks | Mold spreads through wall cavity. May affect adjacent wall sections and subfloor. |
Beyond 3 weeks | Structural materials potentially compromised. Remediation scope and cost significantly increased. |
The difference between discovering and acting on signs of wall water damage in the first 24 to 48 hours versus discovering them two to three weeks later is the difference between drying and monitoring versus mold remediation and material replacement.
Preventing Behind-Wall Water Damage
Consistent maintenance practices significantly reduce the likelihood of water entering wall cavities in the first place.
Inspect Plumbing Connections Regularly
Check under sink cabinets, inside laundry room walls where supply lines penetrate, and around water heater connections quarterly. Look for any mineral staining, soft cabinet floor material, or visible drips at connection points. A supply line failure caught at the first sign of seeping costs a few dollars to repair. The same failure discovered after weeks of slow dripping into a wall cavity costs significantly more.
Maintain All Exterior Seals
Inspect window caulking, door frame sealant, and any wall penetrations for utility lines or hose bibs annually before Florida’s rain season. Reapply exterior caulk at any location where cracking, separation, or gaps are visible. Every gap in exterior caulking is a potential water entry point during storm events.
Keep Gutters Clear and Functional
Blocked gutters cause water to overflow at the roofline and run down the exterior wall surface rather than discharging away from the foundation. This is a significant and entirely preventable source of exterior wall water intrusion. Clean gutters at least twice a year and inspect downspout extensions to confirm water is discharging at least four feet from the foundation.
Monitor Interior Humidity
Keep indoor humidity consistently below 50 percent through regular air conditioning use and supplemental dehumidification where needed. Elevated indoor humidity does not cause the kind of wall water damage described in this guide but it significantly accelerates mold development if any moisture source is already present in a wall cavity.
Final Thoughts
The signs of water damage behind wall surfaces are consistent, recognizable, and actionable if you know what to look for and respond quickly enough. Staining and discoloration, paint bubbling or peeling, soft or warped wall surfaces, baseboard changes, musty odors, and floor changes near the base of walls are all reliable indicators that water has entered a wall cavity and that the 24 to 48 hour mold development window is either approaching or has already passed.
The correct response is always the same: identify the moisture source, arrange a professional water damage inspection to assess the extent of the damage, resolve the moisture source before any wall work begins, dry the structure completely, treat any mold from water damage already present, and then close the wall with new materials. Skipping or reordering any of these steps produces incomplete results that leave the underlying problem unresolved.
The team at The Mold Guys provides professional water damage inspection, water damage restoration, and mold removal services across Southwest and Central Florida. With over 25 years of experience resolving Florida’s most common water damage and mold problems, they have the tools and expertise to assess and address behind-wall damage completely. Contact The Mold Guys today before wall water damage has time to become a mold problem.
FAQs
Q: How do I know if water damage behind my wall has already caused mold?
A: A musty odor strongest near the base of the wall or at electrical outlets, combined with staining and paint changes on the wall surface, strongly indicates mold has already established. A professional water damage inspection with moisture meters and air sampling confirms this without requiring invasive wall opening.
Q: Can I dry out wall water damage myself without professional equipment?
A: Surface drying with fans may help in very minor and early-stage situations. However professional industrial air movers and commercial dehumidifiers dry materials to safe moisture meter readings that consumer equipment cannot achieve. Without confirmed dry readings, moisture inside the wall can support ongoing mold growth that is not visible at the surface.
Q: How long does it take for water damage behind a wall to cause mold?
A: In Florida’s warm climate mold can begin germinating on saturated wall materials within 24 to 48 hours of water entry. Visible surface growth inside the cavity typically appears within three to seven days. Acting on early warning signs within the first 24 hours prevents most mold development in wall cavities.
Q: What does a water stain on the wall that keeps coming back mean?
A: A recurring water stain means the moisture source has not been resolved. The same pathway that allowed water to enter the wall initially continues to introduce moisture with each rain event or plumbing use. The stain returning indicates an ongoing active water intrusion that requires source identification and repair, not repainting.
Q: Should I open the wall myself if I suspect water damage behind it?
A: No. Opening a wall without professional containment equipment in place can release concentrated mold spores into living spaces if growth has already established behind the wall. A professional water damage inspection locates the exact affected area using moisture meters and thermal imaging, allowing precise targeted opening with proper containment protocols in place.